Barcode |
  
|
Barcode |
|
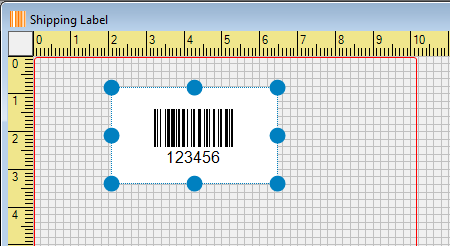
Follow the instructions listed below to insert a "Barcode" object into the label.
1)You may click ![]() from the toolbar or click "Object" > "Barcode" from the top menu to insert a "Barcode" object into the label.
from the toolbar or click "Object" > "Barcode" from the top menu to insert a "Barcode" object into the label.
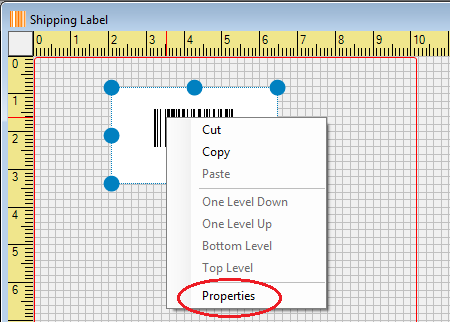
2)Inside the "Barcode" object area, right-click the mouse and click the "Properties" menu.
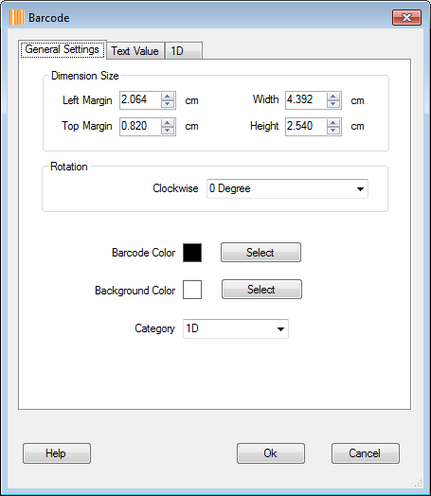
3)Inside the "General Settings" tab, you may change the values of the parameters, including dimension size, rotation, barcode color, background color, and barcode category.
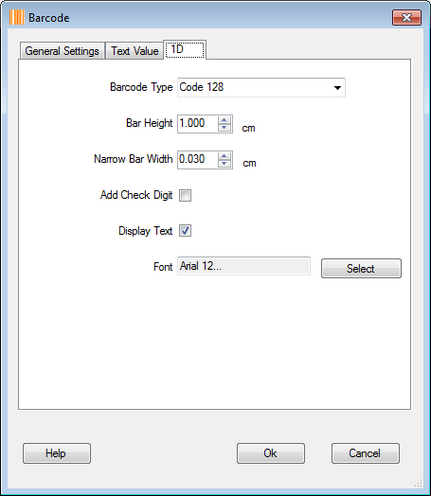
4)If you choose "1D" barcode category, you may change the values of the parameters, including barcode type, bar height, narrow bar width, add-check-digit-or-not, display-text-or-not, and barcode text font.
5)If you choose "2D" barcode category, you may change the values of the parameters, including barcode type, module size, and sub parameters for each specific 2D barcode.

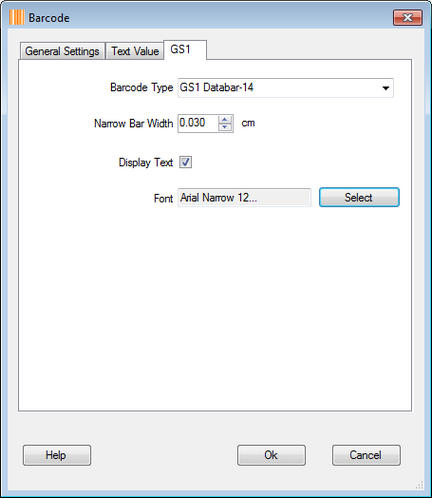
6)If you choose "GS1" barcode category, you may change the values of the parameters, including barcode type, narrow bar width, display-text-or-not and barcode text font.
7)For the "Text Value" tab, please refer to this section.
8)After you feel comfortable with the settings, you may click the "Ok" button to confirm the changes.