Create a Report Project |
  
|
Create a Report Project |
|
Follow the instructions below to create a report project in the Reporting Services environment:
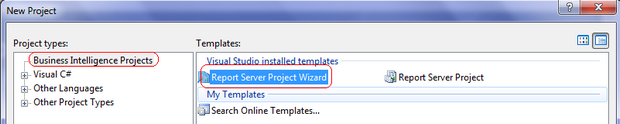
1.Select File | New | Project from the Visual Studio .NET IDE menu, in the New Project dialog, highlight the "Business Intelligence Projects", then choose the "Report Server Project Wizard", enter the name of the report in the "Name" box, click the "OK" button.
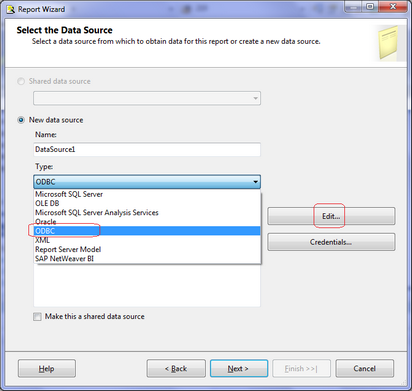
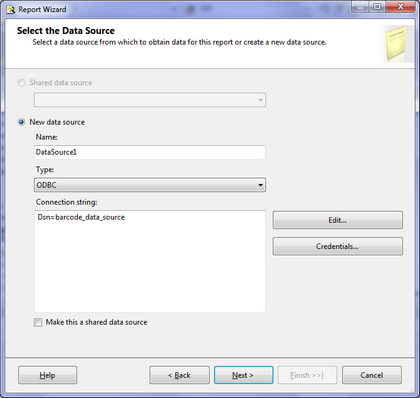
2.In the "Select the Data Source" dialog, you can choose any Data Source type, in this case, we choose the "ODBC" option.
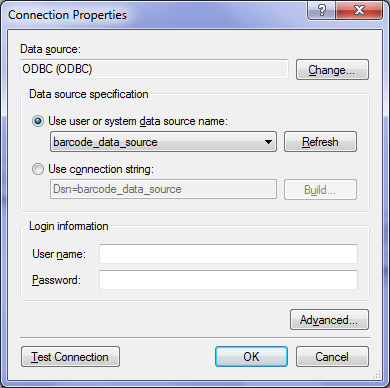
3.Click the "Edit" button to open the "Connection Properties" dialog, choose an ODBC data source and click the "Test Connection" button, then click the "OK" button.
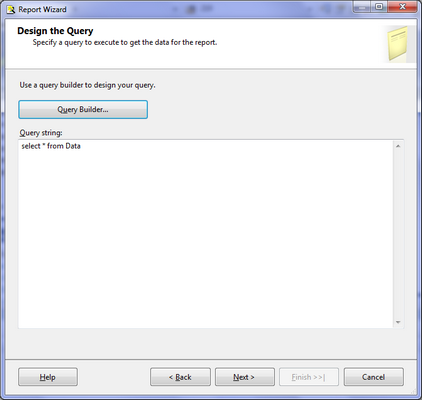
4.Click the "Next" button to open the "Design the Query" dialog, enter the query string to extract the data, click the "Next" button
5.In the following dialogs, choose the appropriate settings and click the "Finish" button.